Digital Forensics Tool: Lupo – Malware IOC Extractor

Reading Time: 3 Minutes
Introduction
Working on security incidents that involve malware, we come across situations on a regular basis where we feel the need to automate parts of the analysis process as complete manual analysis is, more often than not, not possible for every case due to many factors (time, skills, scale etc.). Choosing the right Digital Forensics tools and adding them to your arsenal, getting to use and train with them is key, towards spending time working with reading code, reverse engineering, especially when it has to do with Malware.
Lupo (Debugging module for Malware Analysis Automation) written by malienist, mainly is a tool to automate and accelerate the process as much as possible. It is a dynamic analysis tool that can be used as a module with the debugger. The first version works with the popular Windows Debugger — WinDbg.
The way the tool works is pretty straight forward. You load Lupo into the debugger and then execute it. It runs through the malware and collects predefined IOC and writes them to a text file on the disk. You can then use this information to contain and neutralize malware campaigns or simply respond to the security incident that you are working on.
The tool is written in C++ and uses the Windows Debugging framework to execute the code. It can be used with WinDbg as a ‘plugin’ in order to help automate the analysis process.
See Also: Offensive Security Tool: Mobile Security Framework (MobSF)
Usage
Using the tool is very easy. It works in this way:
Save the Lupo extension in your extensions dir (default: sdk\samples\exts subdirectory of the installation directory). You can also define the extensions path by using the command ‘.extpath[+] [Directory[;…]]’.
Start the debugger
Attach the process to be debugged (malware in this case)
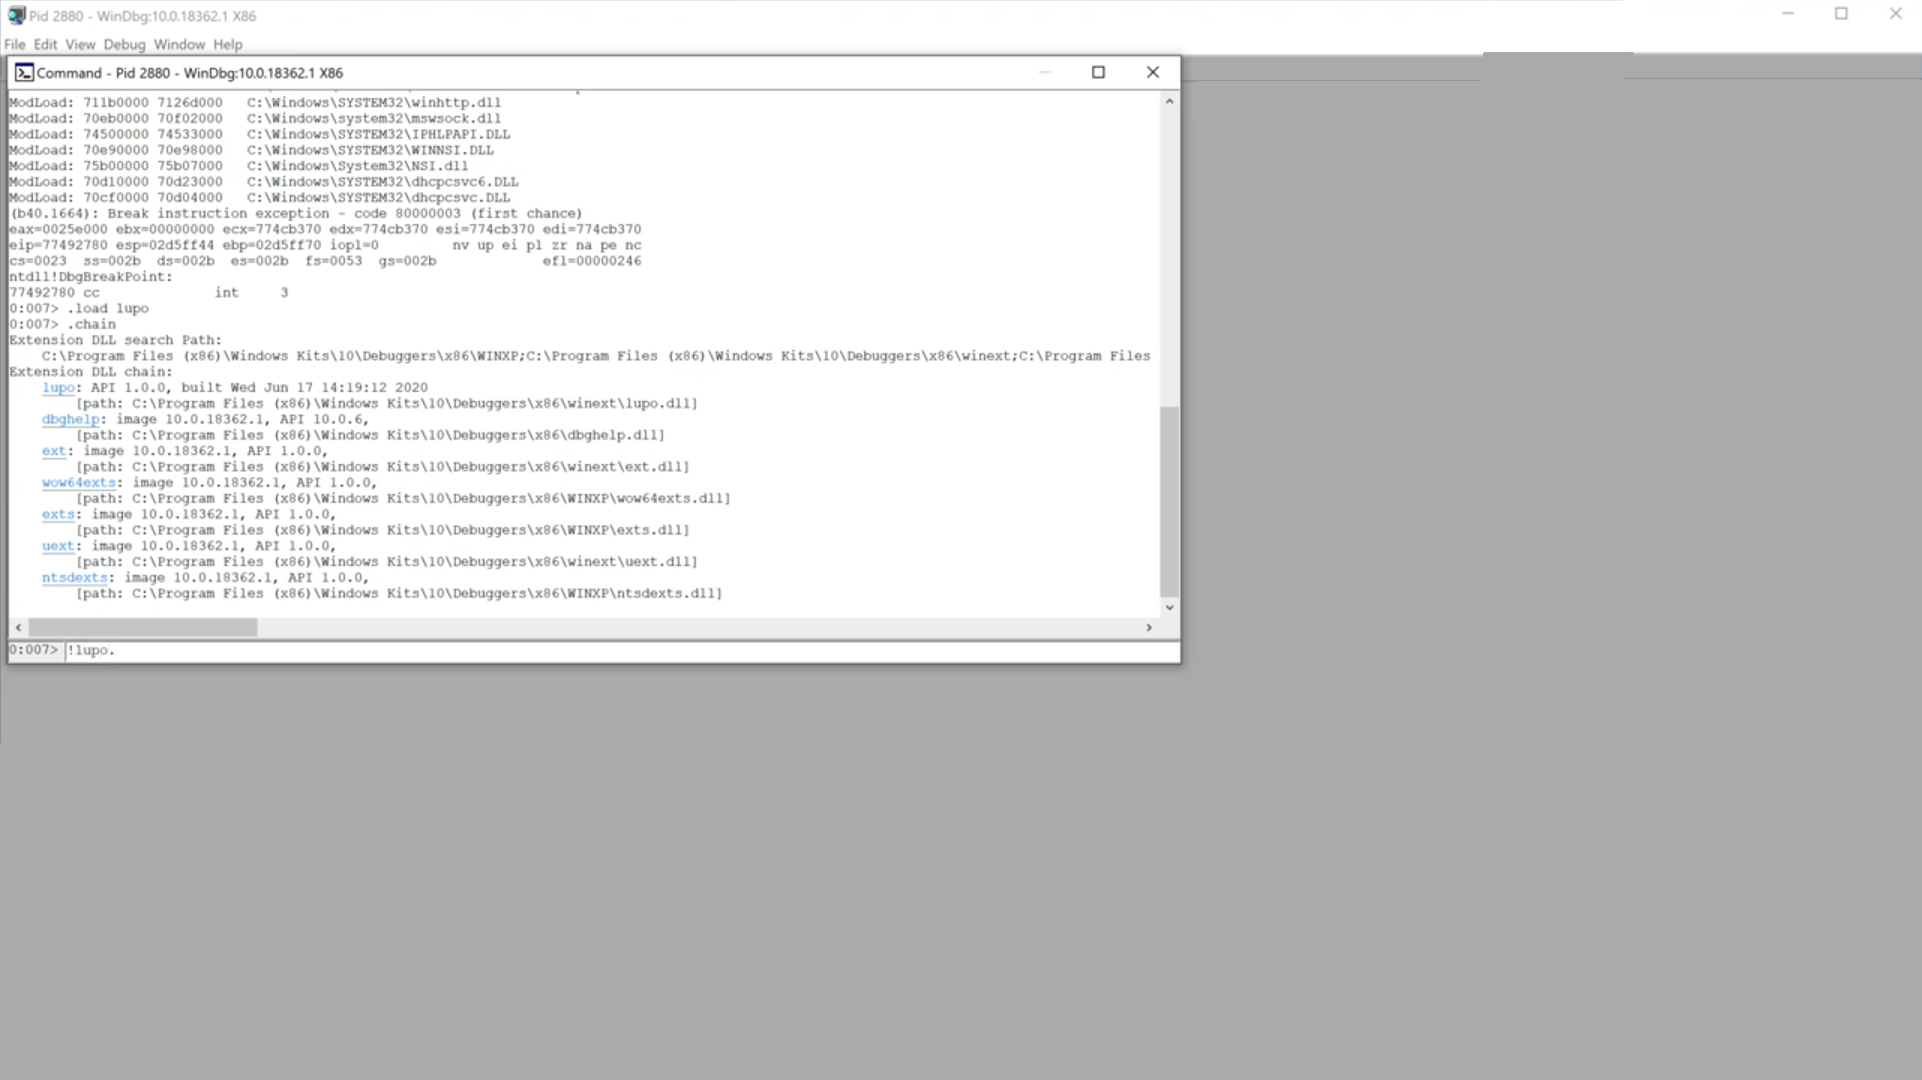
Load Lupo using the ‘.load’ command.
Execute Lupo by using this command: ‘lupo.go’
All results will be displayed in the console and also written to a new text file on the disk. Path and name of this text file will be displayed in console as well. All done!
You can optionally use the results from Lupo with this other tool that the creator wrote — Ragno, to advance your research and response by aggregating OSINT for the wider footprint of the campaign you are possibly dealing with. You can read about Ragno in another post here
For a step by step post on how to use Lupo, with images and instructions, you can see this post
See Also: Write up: Detect malicious hacker activities on endpoints


